This documentation describes the steps to implement a dialog-submission-approval slack app
Source code: https://glitch.com/edit/#!/sand-ozraraptor?path=src/index.js:240:48
Get started
1. First read the linked blueprint to have a general idea what we're going to do
https://glitch.com/~slack-slash-command-and-dialogs-blueprint
2. Click the "Remix on Glitch" button in the blueprint and you'll get a unique glitch url which will be used to implement your app

Create a slack app
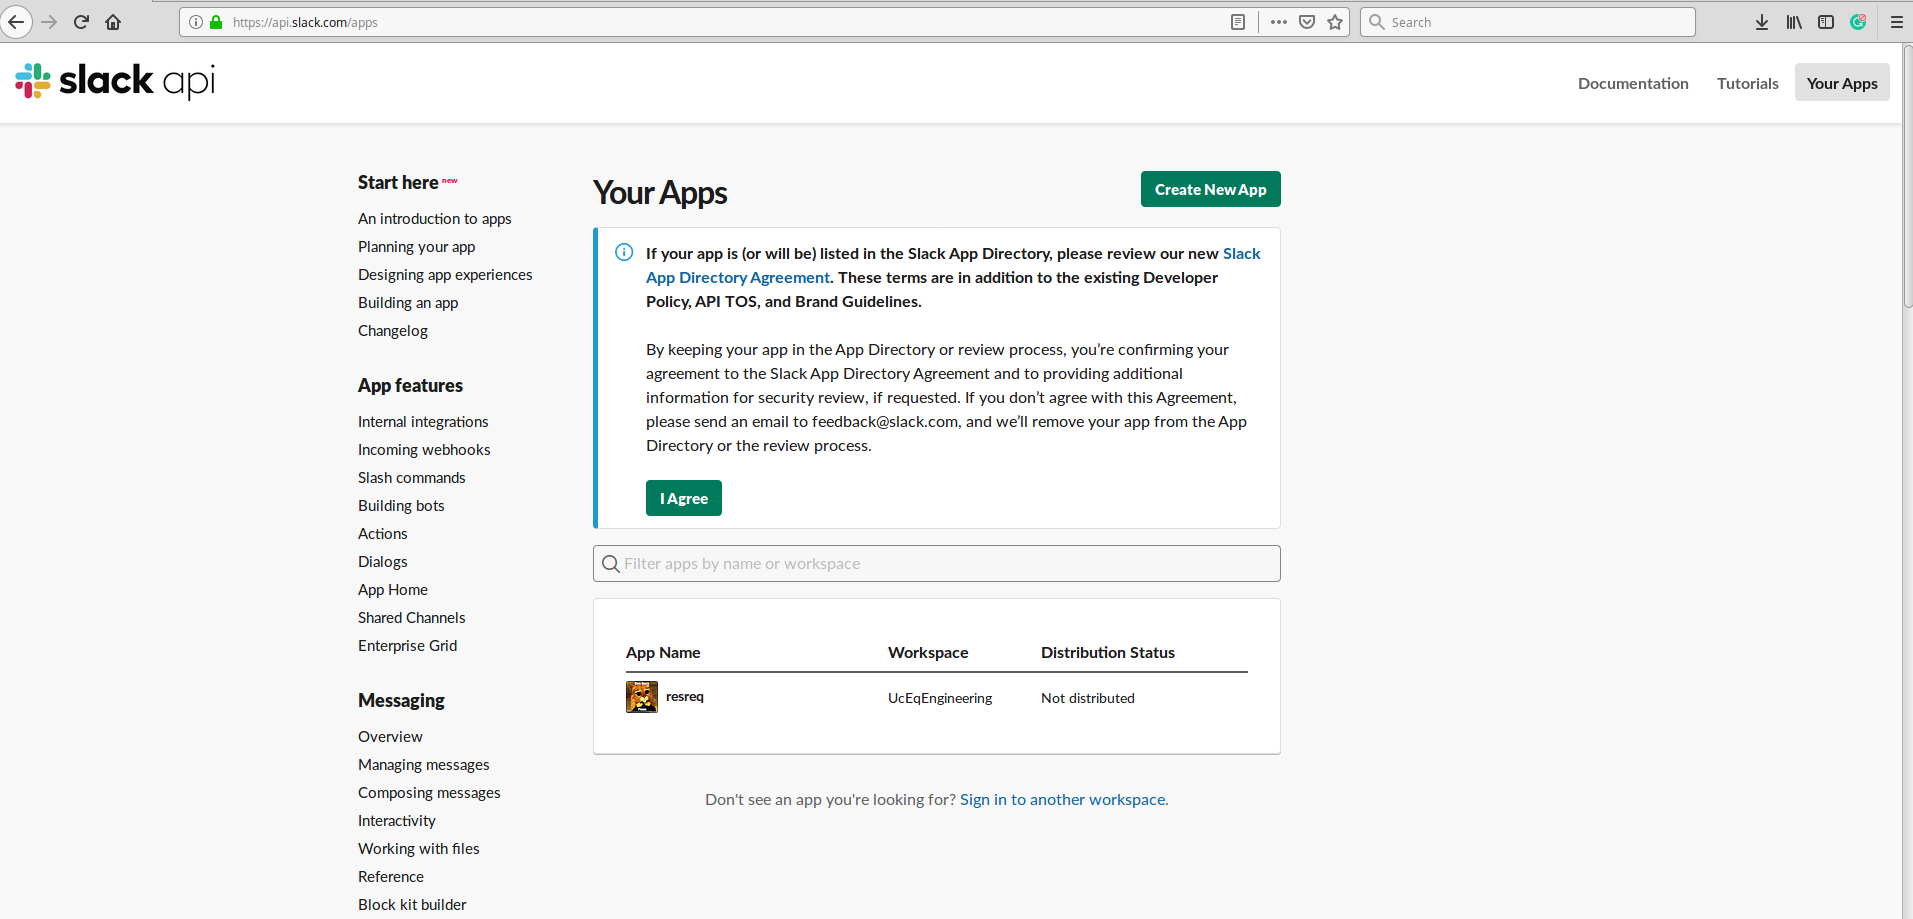
1.First create a slack app following this page https://api.slack.com/slack-apps
In this case, we created a 'request' app to handle core hours request
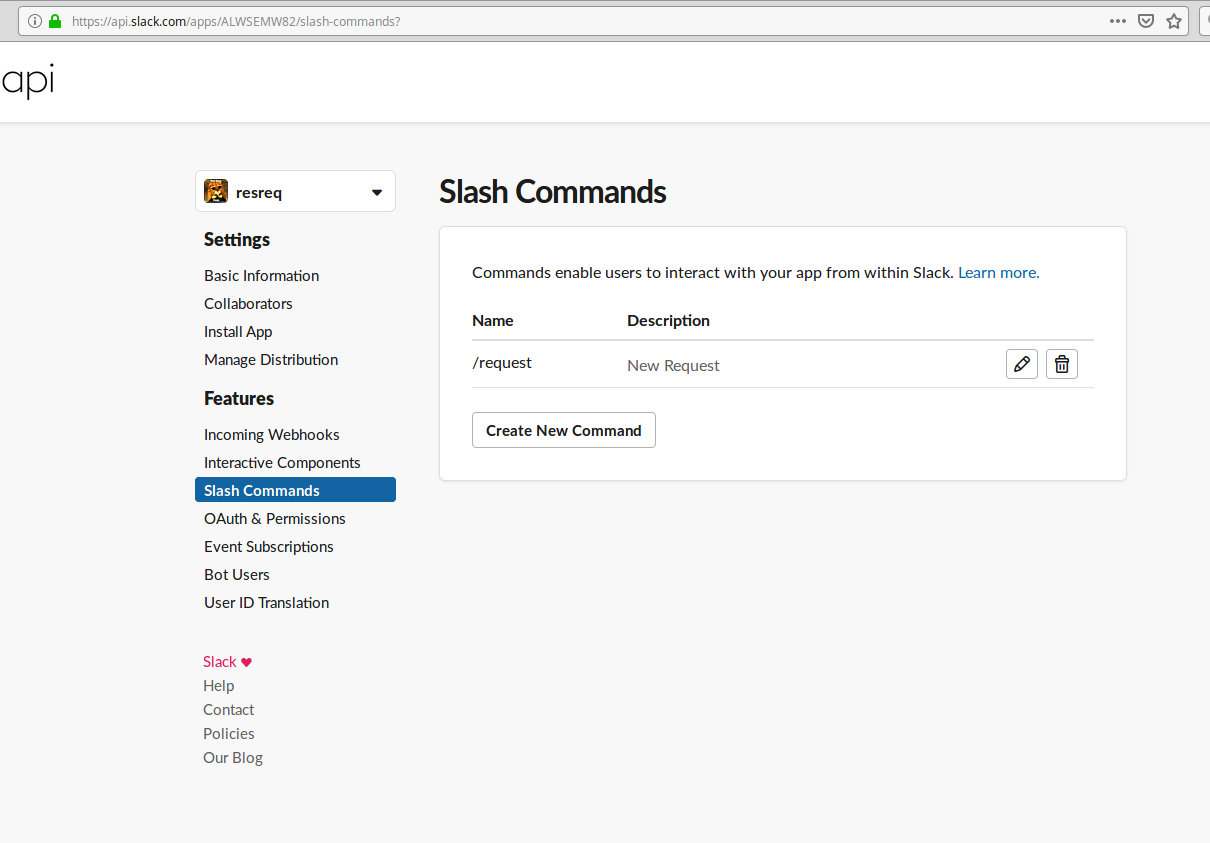
2. Add a Slash command for your app
- Go back to the app settings and click on Slash Commands.
- Click the 'Create New Command' button and fill in the following:
- Command:
/request - Request URL: Your server or Glitch URL +
/command - Short description:
Create a core hour request ticket - Usage hint:
[the problem you're having] - If you did "Remix" on Glitch, it auto-generate a new URL with two random words, so your Request URL should be like:
https://fancy-feast.glitch.me/command.
- Command:
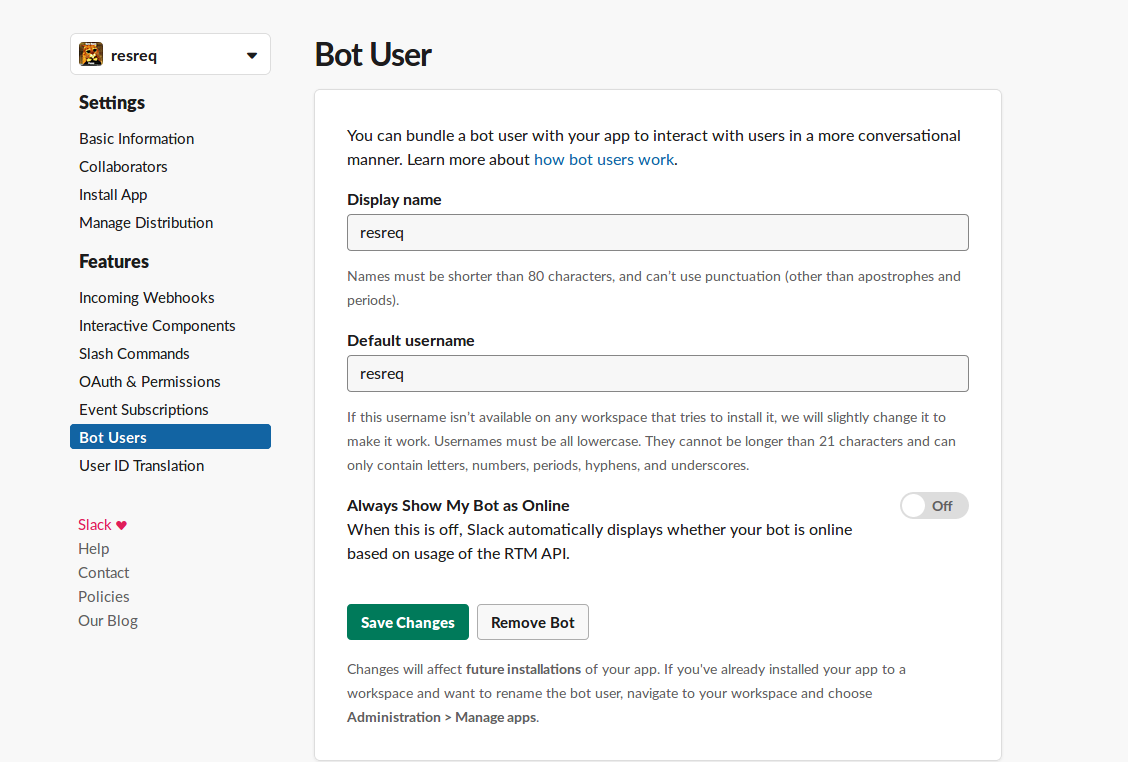
3.Navigate to Bot Users and click "Add a Bot User" to create one.
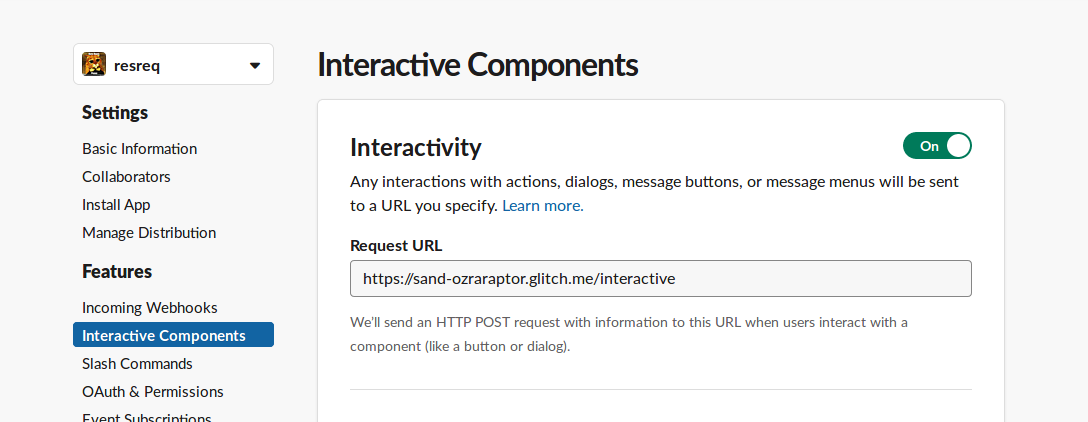
4.Enable Interactive components
- Go back to the app settings and click on Interactive Components.
- Set the Request URL to your server or Glitch URL +
/interactive. - Save the change.
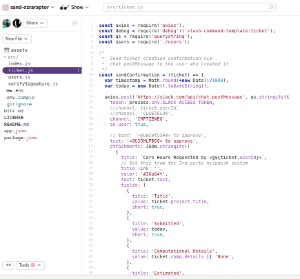
5.On glitch, inside ticket.js, modify the 'sendConfirmation' function to create a custom dialog
Run this App
1. Set Environment Variables on glitch
- Set the following environment variables to
.env(see.env.sample):SLACK_ACCESS_TOKEN: Your bot token,xoxb-(available on the OAuth & Permissions once you install the app)SLACK_SIGNING_SECRET: Your app's Signing Secret (available on the Basic Information page)
2.Add the app to your channel: Click the 'channel settings' wheel icon and select 'add an app'
3. type '/request in the message and press 'Enter' twice
Fill the textboxes and submit
The dialog will then be submitted to the channel

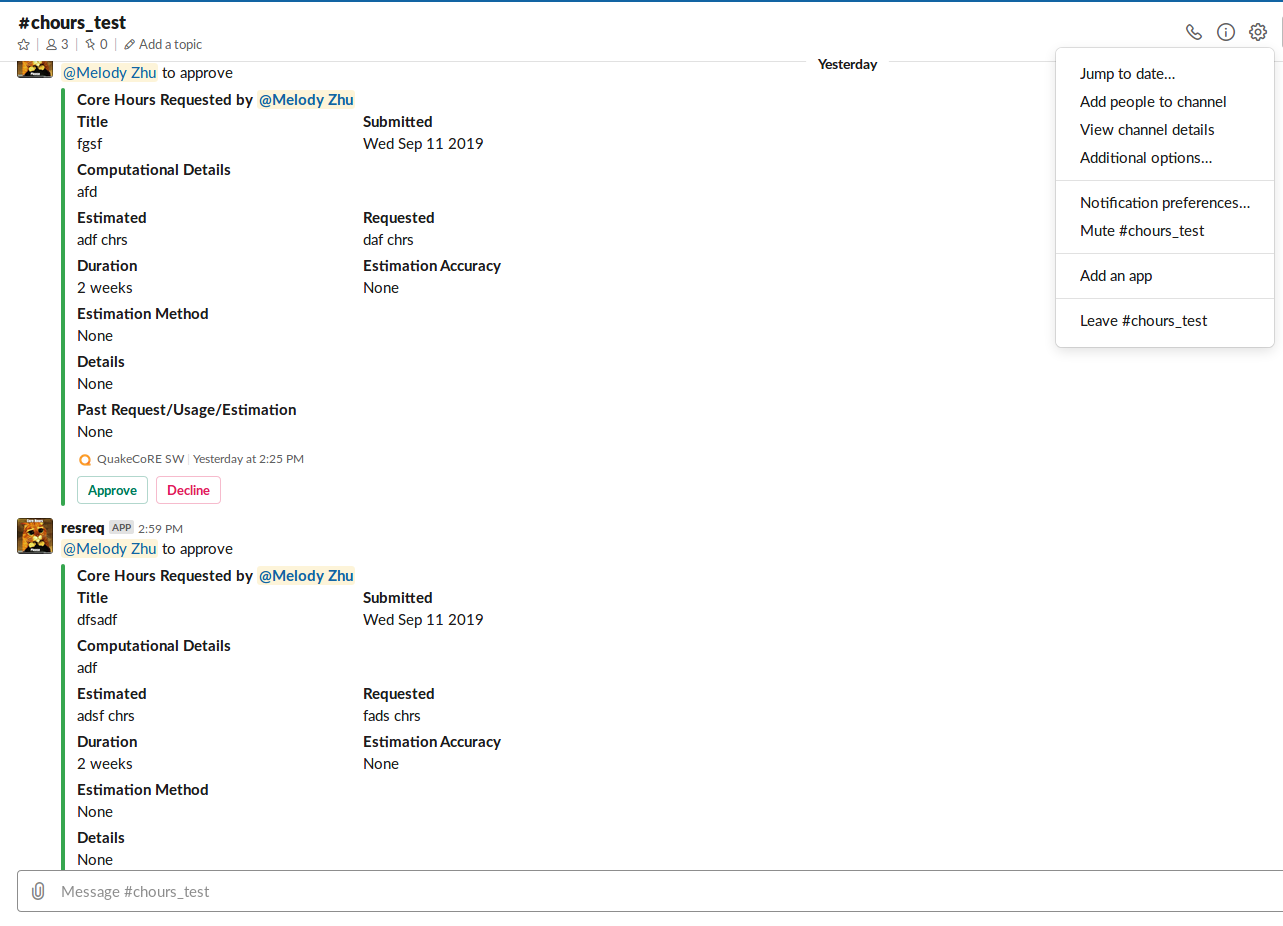
Enable actions to the submitted dialog
Now the core hour request has been submitted, we need to enable approve/decline actions
1. First read this documentation https://api.slack.com/actions
2.Create new actions to your dialog follow the link above and save changes

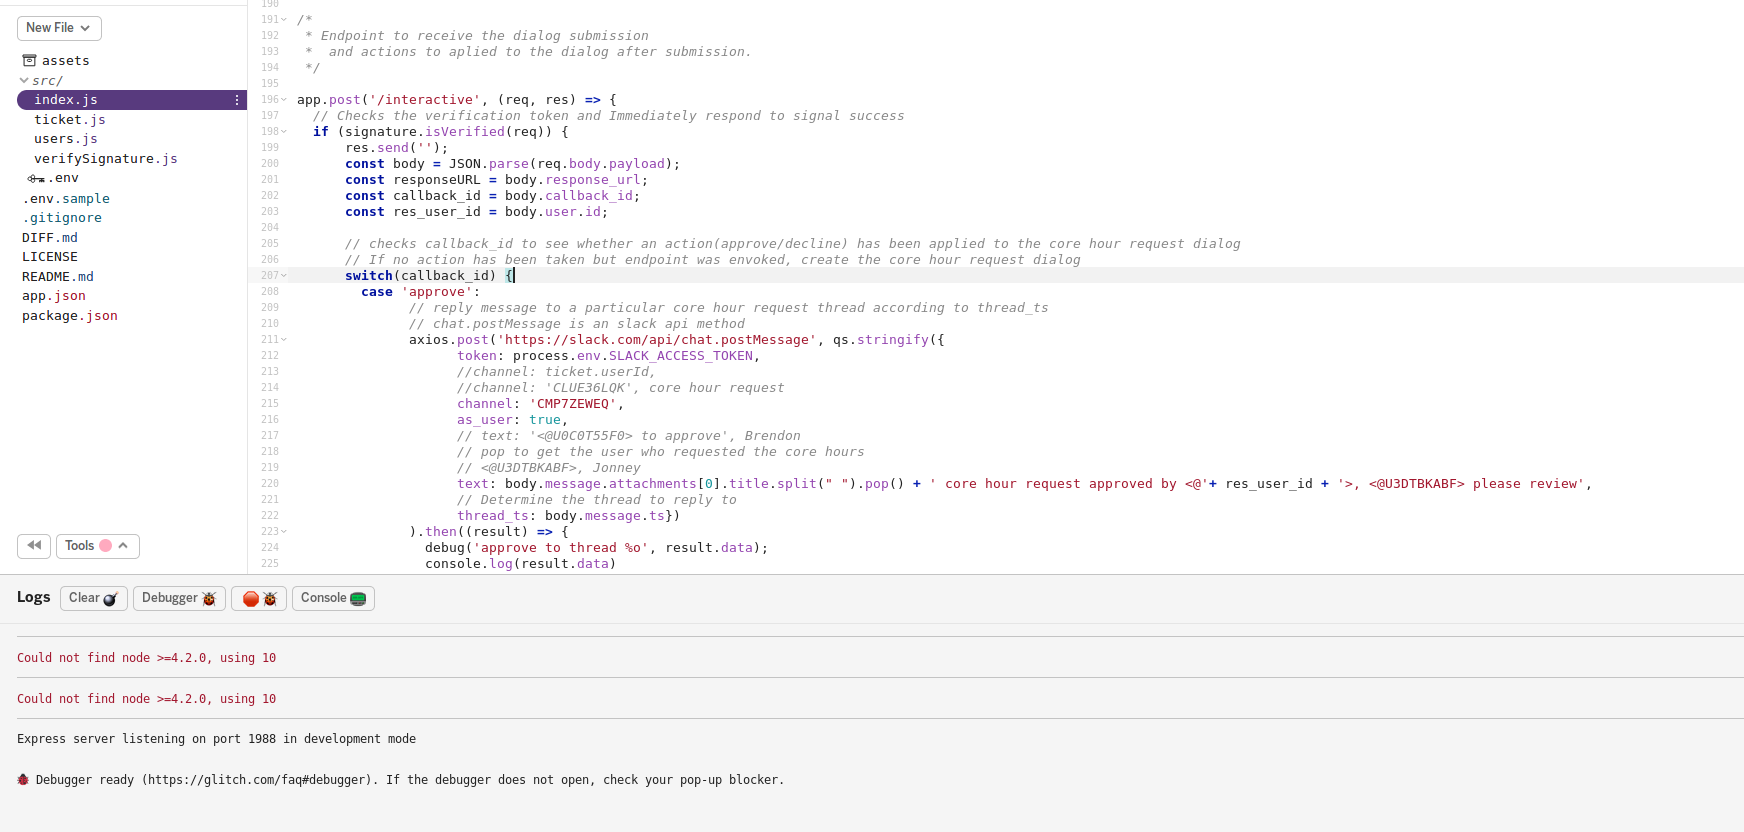
3.On glitch, inside index.js, modify the function related to evocation of endpoint '/interactive'
The key is to check callback_id and see what action has been taken
Use the debug tools at bottom left to see request body content.
Note: 1. As we want to automatically post a message upon the action to a thread instead of in the channel, use slack api method chat.postMessage and set thread_ts attribute to the request message's message.ts attribute (body.message.ts)
2. If we want to post message in the channel. use the sendMessageToSlackResponseURL, set the response url to the request message's reponse_url (body.response_url) and set response_type to 'in_channel' so that the message is not only visible to you.
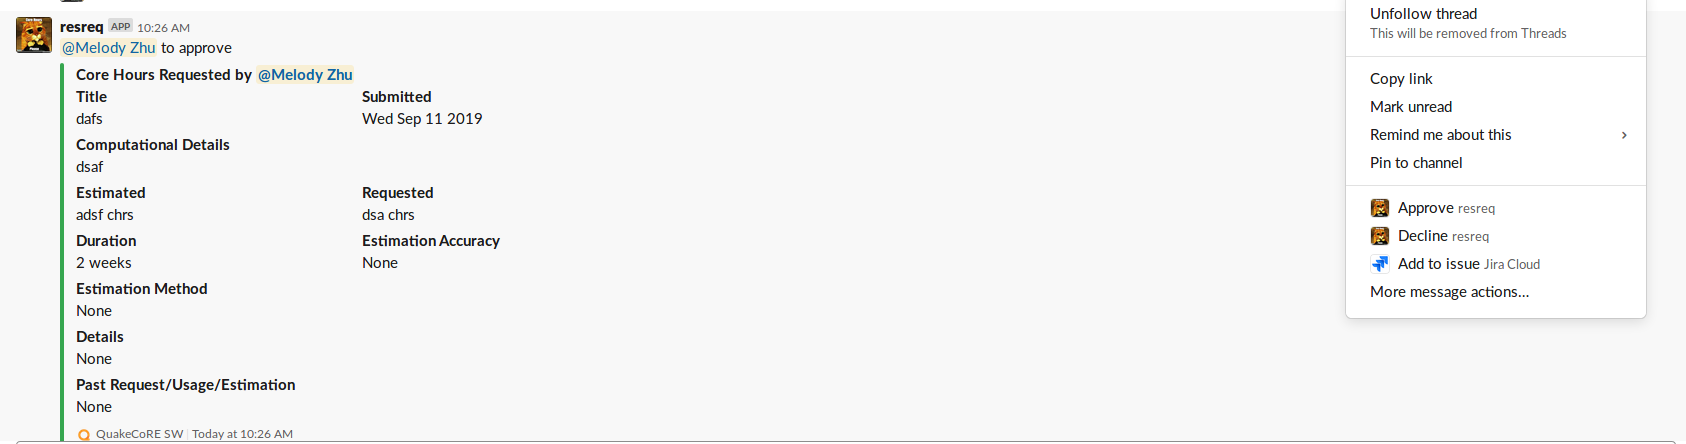
4.When first using new actions:
4a. Click the '3 dot' button at top right of a request message and
4b. Click 'more message actions...', then
4c. Click 'Approve'
Repeat 4a & 4b for 'Decline' Action
Next time you click the '3 dot' button, you will see 'Approve' and 'Decline' already in the dropdown menu

5. To approve/Decline a core hour request, Click '3 dot' button, click 'Approve' or 'Decline', then an approve/decline message will be sent to the core hour request thread
