Installing Python development environment is not very straightforward if you have a standard UC windows desktop. Follow this instruction to work around the restrictions for non-admin users.
(Update: You could follow this manual if you want to set up your personal computer where you have Administrator priviledge. I will make a note if you have to do things differently)
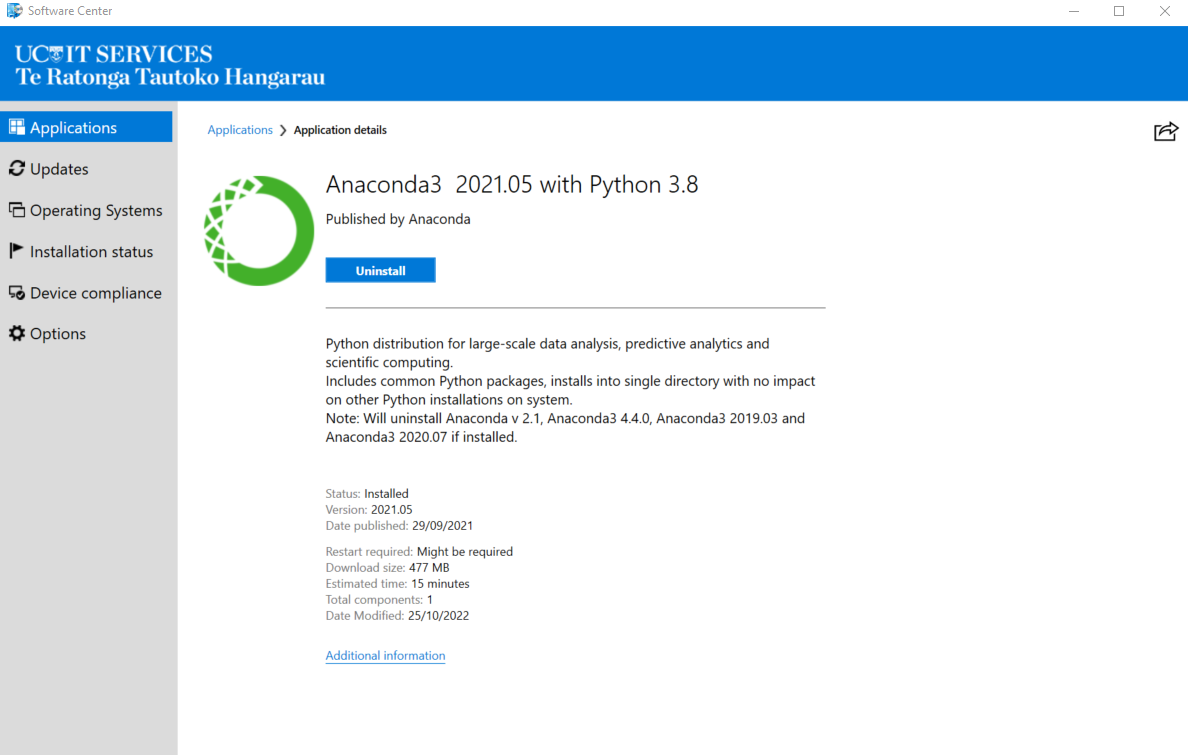
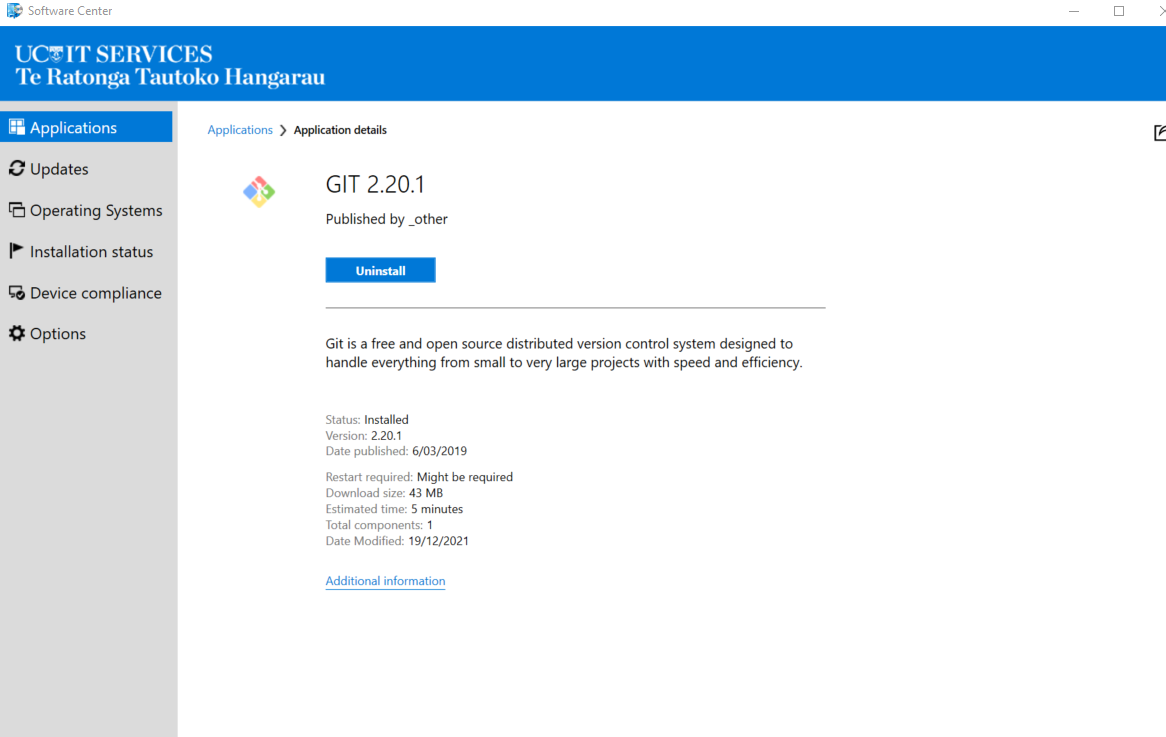
Anaconda
From Software Center, select Anaconda and git to install
If installing on your PC, get Anaconda and git packages from the link below and install them.
https://www.anaconda.com/products/distribution
https://git-scm.com/download/win
During git installation, you can stick to the default selections.
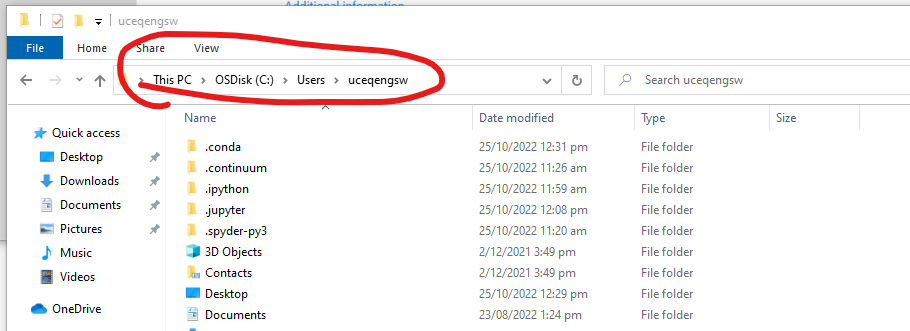
Open Windows Explorer. Find where your user folder is
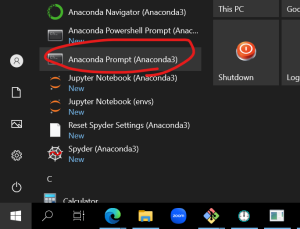
When installed, start Anaconda Prompt
Enter this command: conda create --prefix YOUR_USER_FOLDER\envs
!! You should not have " "(white space) in YOUR_USER_FOLDER. Go with a short, one word.
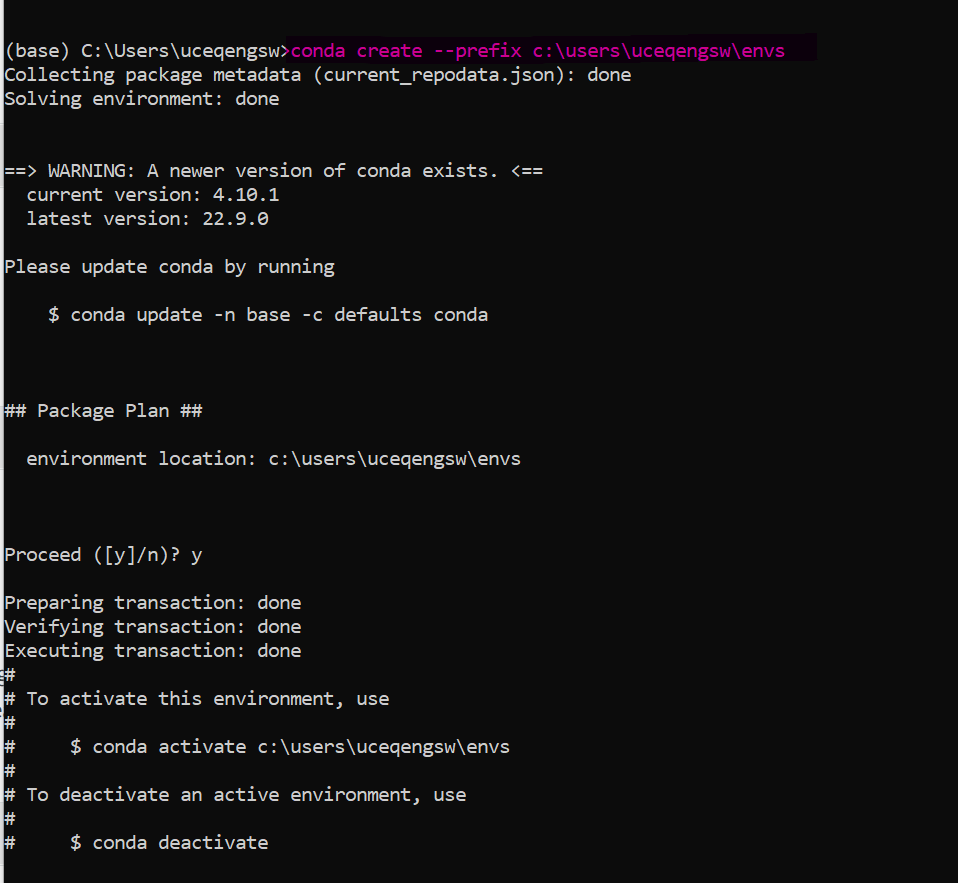
Enter this command: conda activate YOUR_USER_FOLDER\envs

Notice the prompt changes from (base) to (c:\users\...\envs)
Enter this command: conda install -c conda-forge numpy matplotlib jupyterlab pandas geopandas scipy fiona
If installing on your PC, you can use Anaconda Navigator to install packages, instead of the command above. Your Git bash doesn't have a working conda environment, and Anaconda Prompt doesn't know how to communicate with conda repositories yet. It will give you an OpenSSH error.
(Note: the command in screencapture below is outdated)
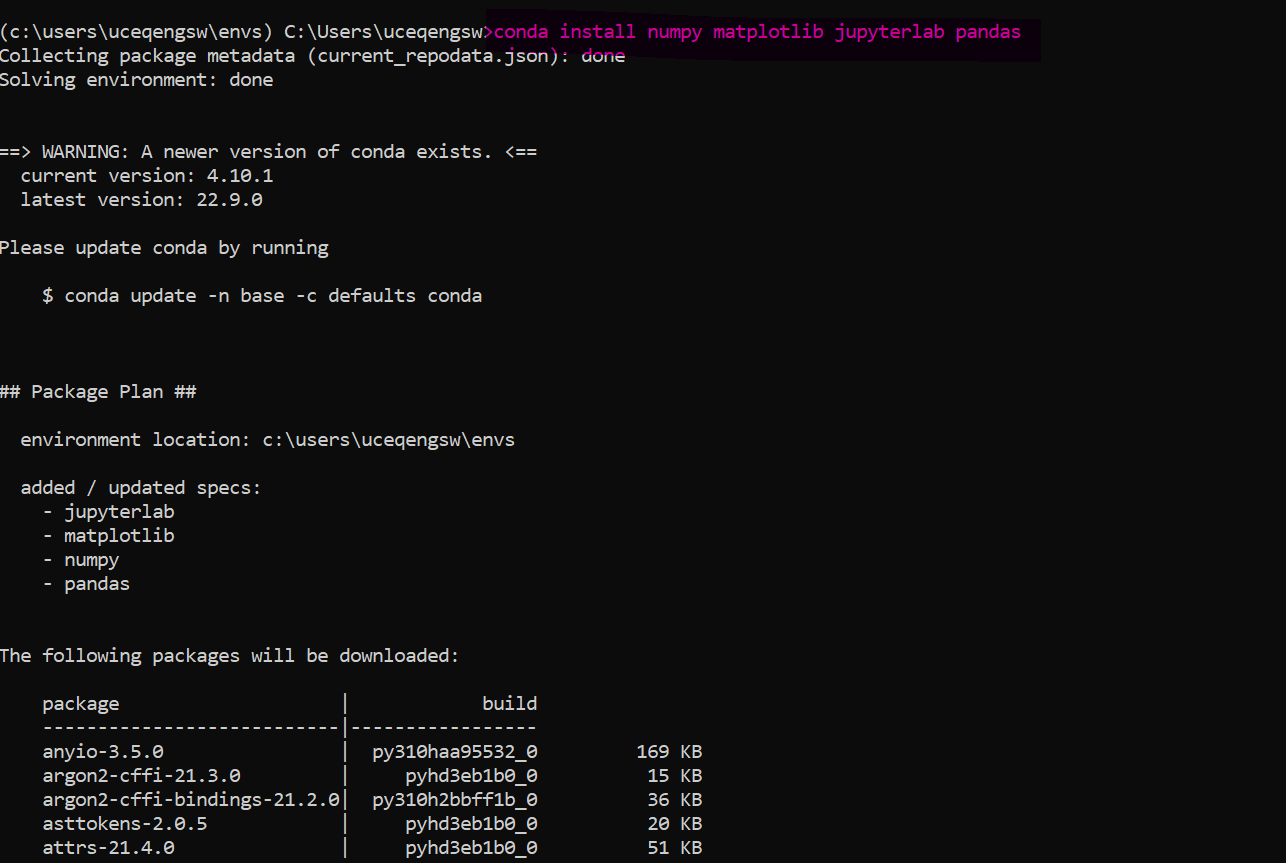
This will start to install lots of things. Answer "Yes". Towards the end of installation, it will ask Admin password. You can skip that part. Choose cancel or No to close that dialog.
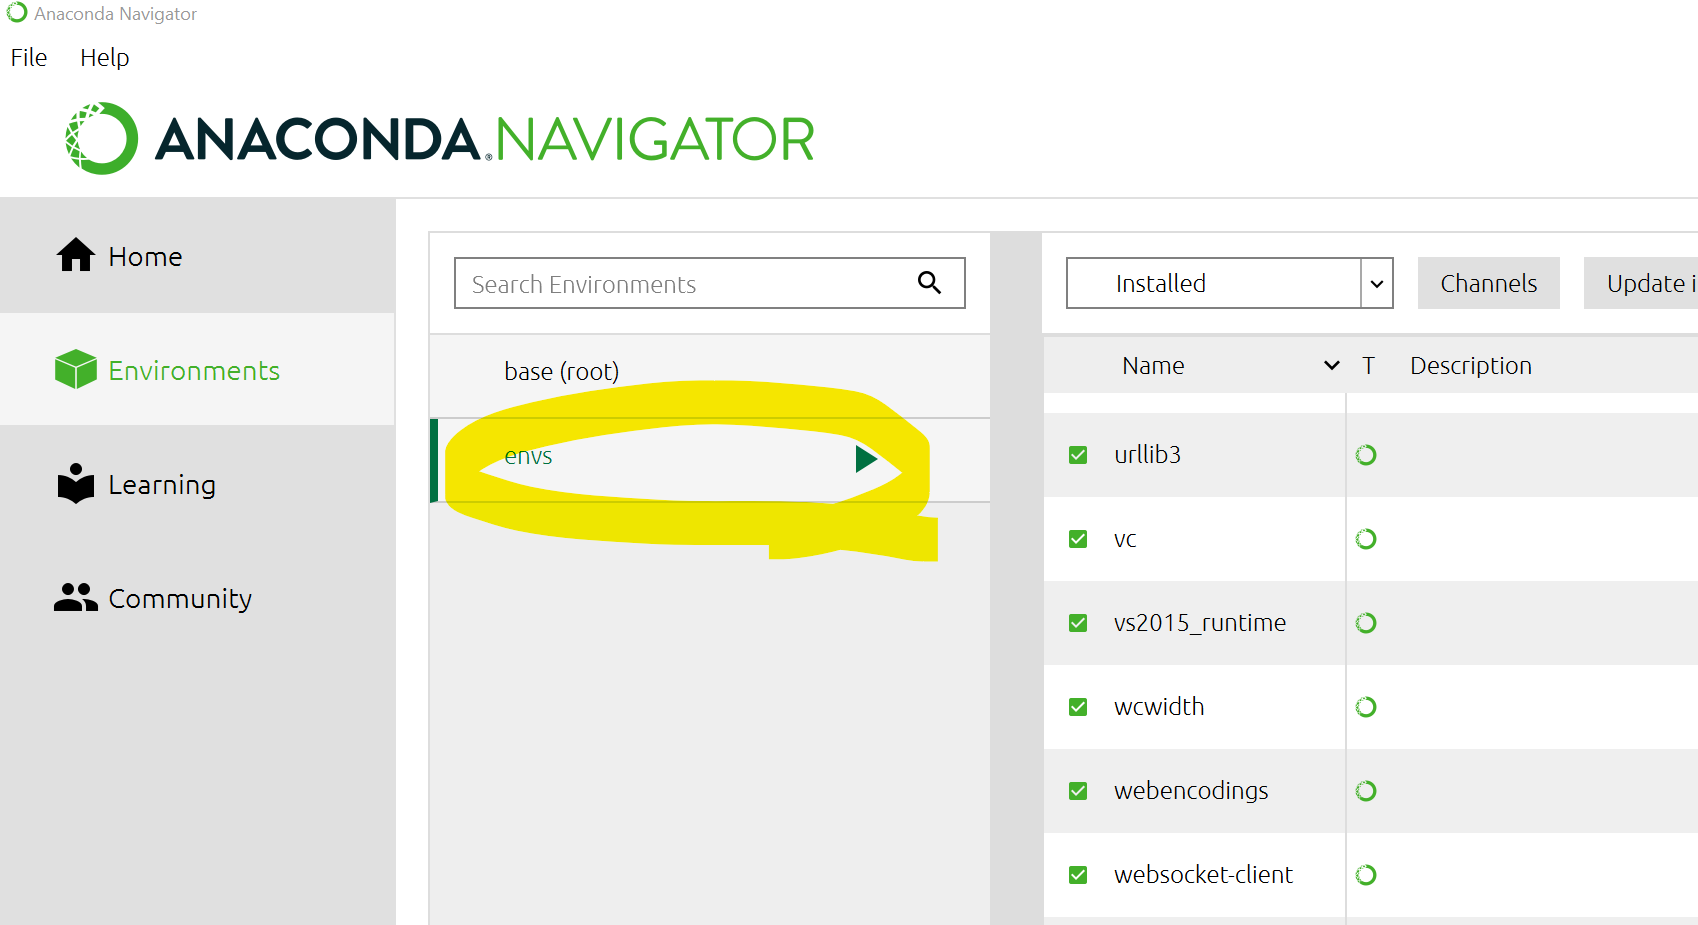
Open Anaconda Navigator and check Environments. You should see "envs".
From Anaconda Prompt, if you enter "where python", it should locate python.exe under your envs folder.

Git-Bash Configuration
Open File Explorer and go to your Users folder.
Open Notepad and start a new file.
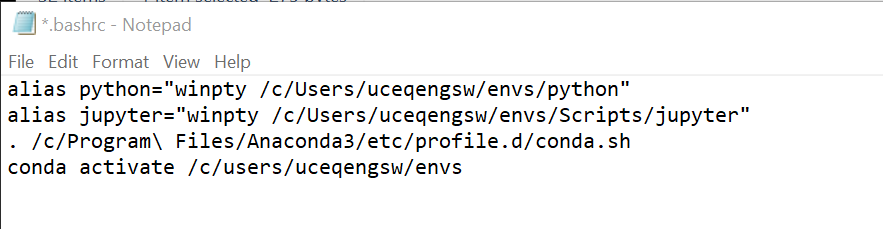
Insert the following text into Notepad. Replace "uceqengsw" with your username.
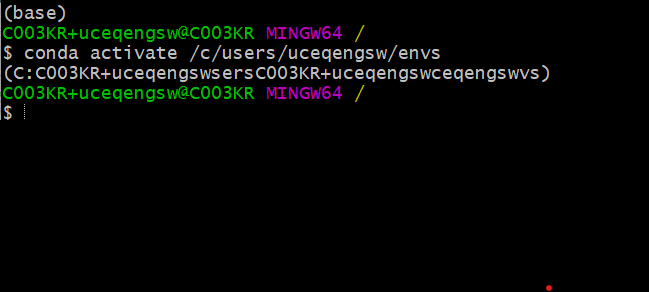
alias python="winpty /c/Users/uceqengsw/envs/python"
alias jupyter="winpty /c/Users/uceqengsw/envs/Scripts/jupyter"
. /c/Program\ Files/Anaconda3/etc/profile.d/conda.sh
conda activate /c/users/uceqengsw/envs
This line
. /c/Program\ Files/Anaconda3/etc/profile.d/conda.sh
depends on where you installed your Anaconda. If you are installing Anaconda on your PC, the location may be different.
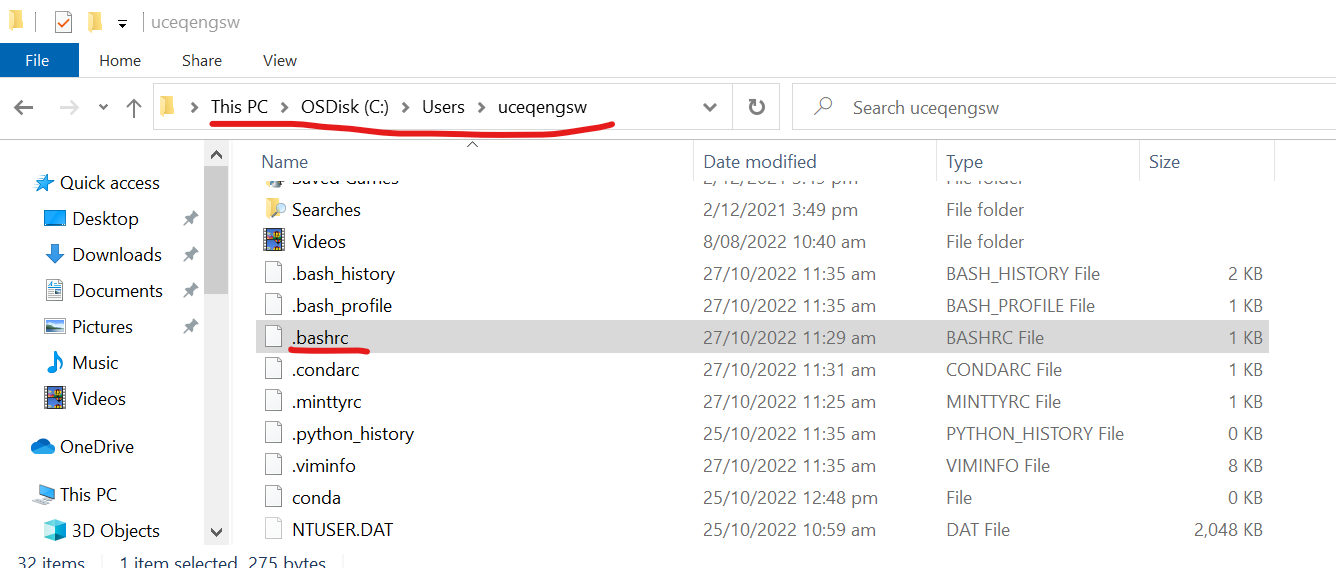
Save it as .bashrc
Notice the .bashrc file in your Users folder.
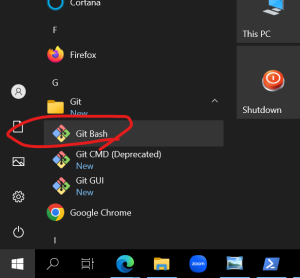
Start Git-Bash terminal
The first line of your terminal should be (C:.....). If it is (base), try the trouble shooting steps below.
Enter "where python" or "which python". It should show python.exe under your Users directory, not in C:\Program Files\Anaconda3
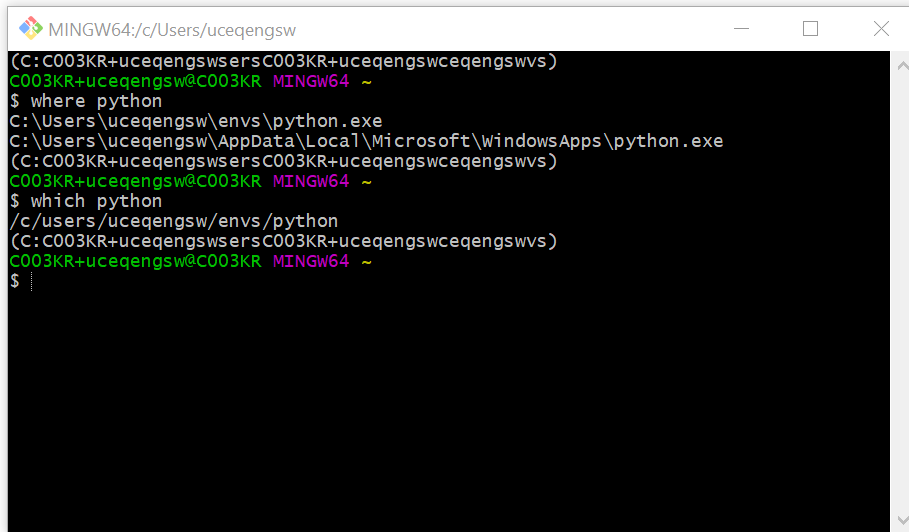
If you don't see it, there is something not quite right. Try Trouble Shooting steps.
Otherwise, try "python". You should see python starting normally.

If everything is good, you can move on to set up PyCharm.
Trouble Shooting
- The first line in terminal shows (base)

This means your new environment hasn't been correctly activated when the Git-Bash starts.
Let's manually activate it. Replace "uceqengsw" with your Username, and execute the command.
conda activate /c/users/uceqengsw/envs
If you see (C:...) instead of (base), at least your conda activate command works well. It could be the default (base) environment getting loaded by conda.
Try the following command. Enter the command, and open a new Git-bash terminal. Check the top of the terminal again.
conda config --set auto_activate_base false
If you see (C:..) instead of (base), it's all good.,
- Terminal says something about "conda init <shell>": I don't think this can happen, but if it does, let me know. (me = Sung)
If your problems have been resolved, see if you can execute "python".
PyCharm
Google and download PyCharm Community Edition.
Try to install, and you will be "welcomed" by this dialog. Click No.
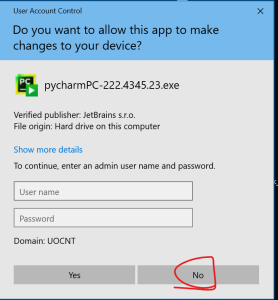
Thanks God, you can install PyCharm somewhere other than the default Program Files (where you need Admin privilege)
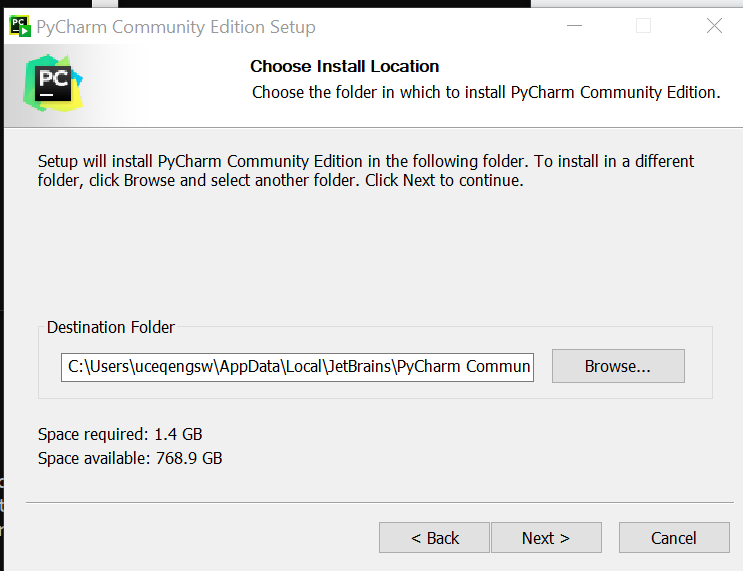
By default, it will advise you to install in AppData\Local under your user folder. It's good, but copy the path to notepad, BEFORE you click "Next"/
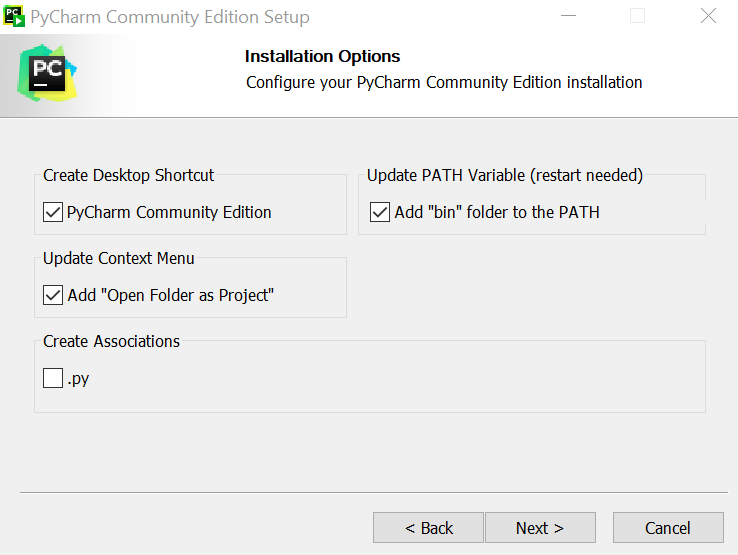
Tick all boxes. I forgot to tick ".py", which is easy to fix later.
From this point, just keep going. It should install ok.
After installation, open Anaconda Navigator, go to File>Preferences. There are two things. Select "envs" to be your Default conda environment, and set PyCharm CE Path. Use the Path you copied during PyCharm installation you did above.
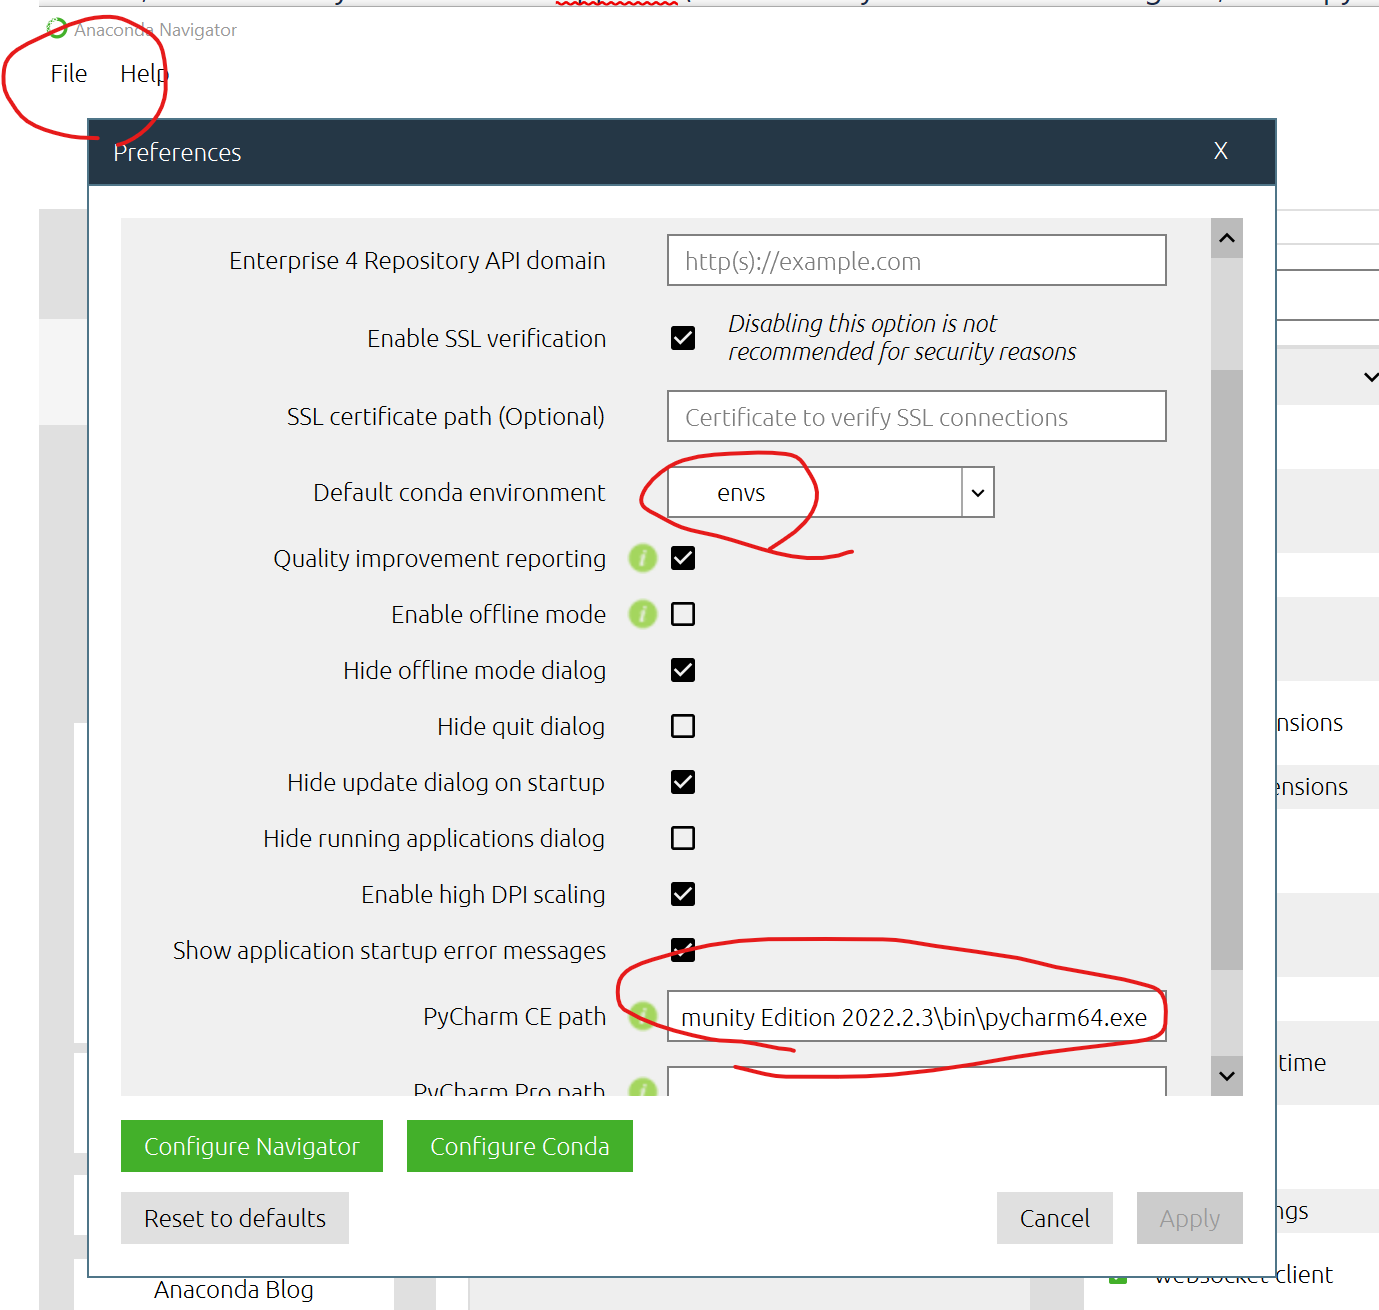
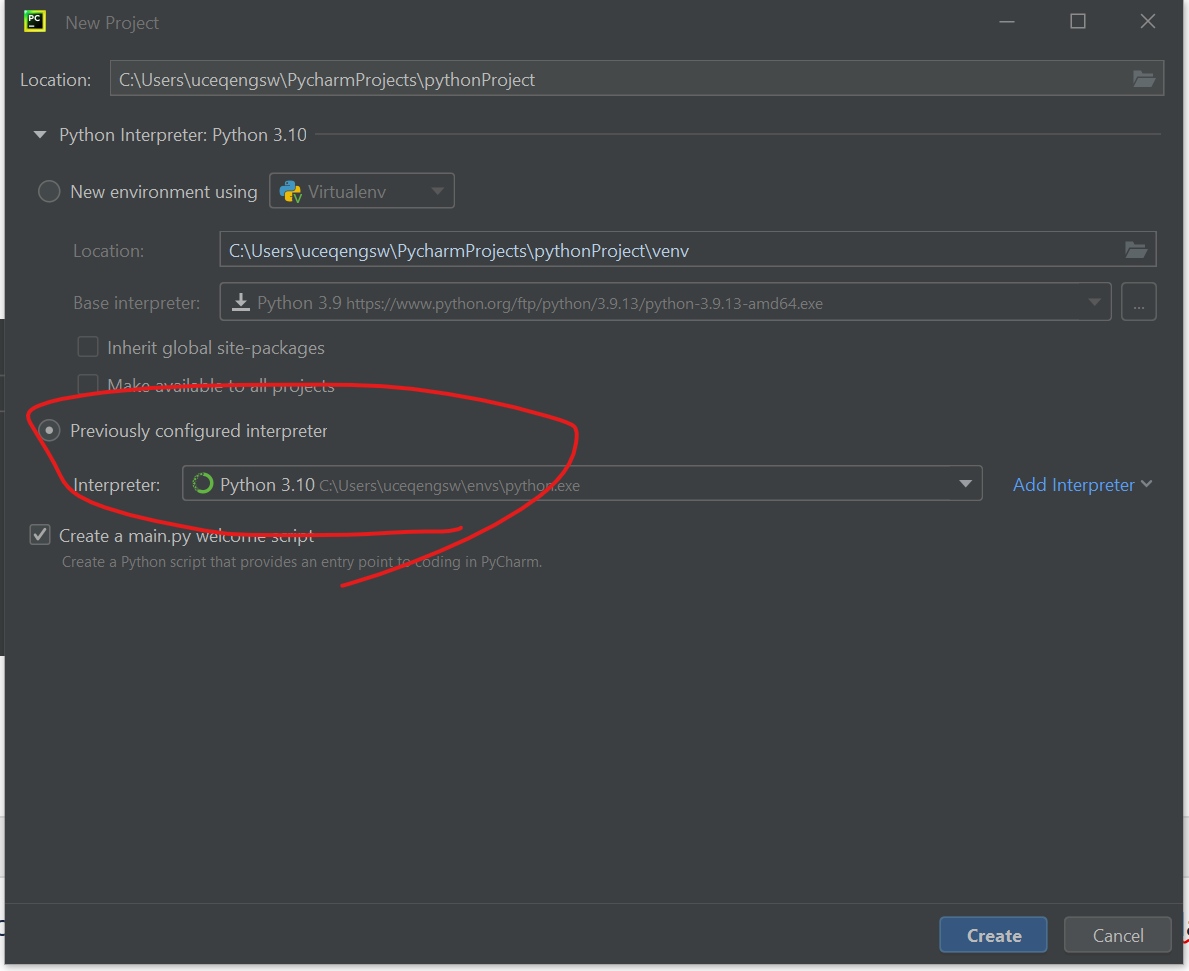
PyCharm, by default, will try to create a new environment for every new project.
I think it's most sensible for a research student to stick to the same environment (instead of creating a new env for each project). As PyCharm doesn't know our Conda environment, let's configure it.
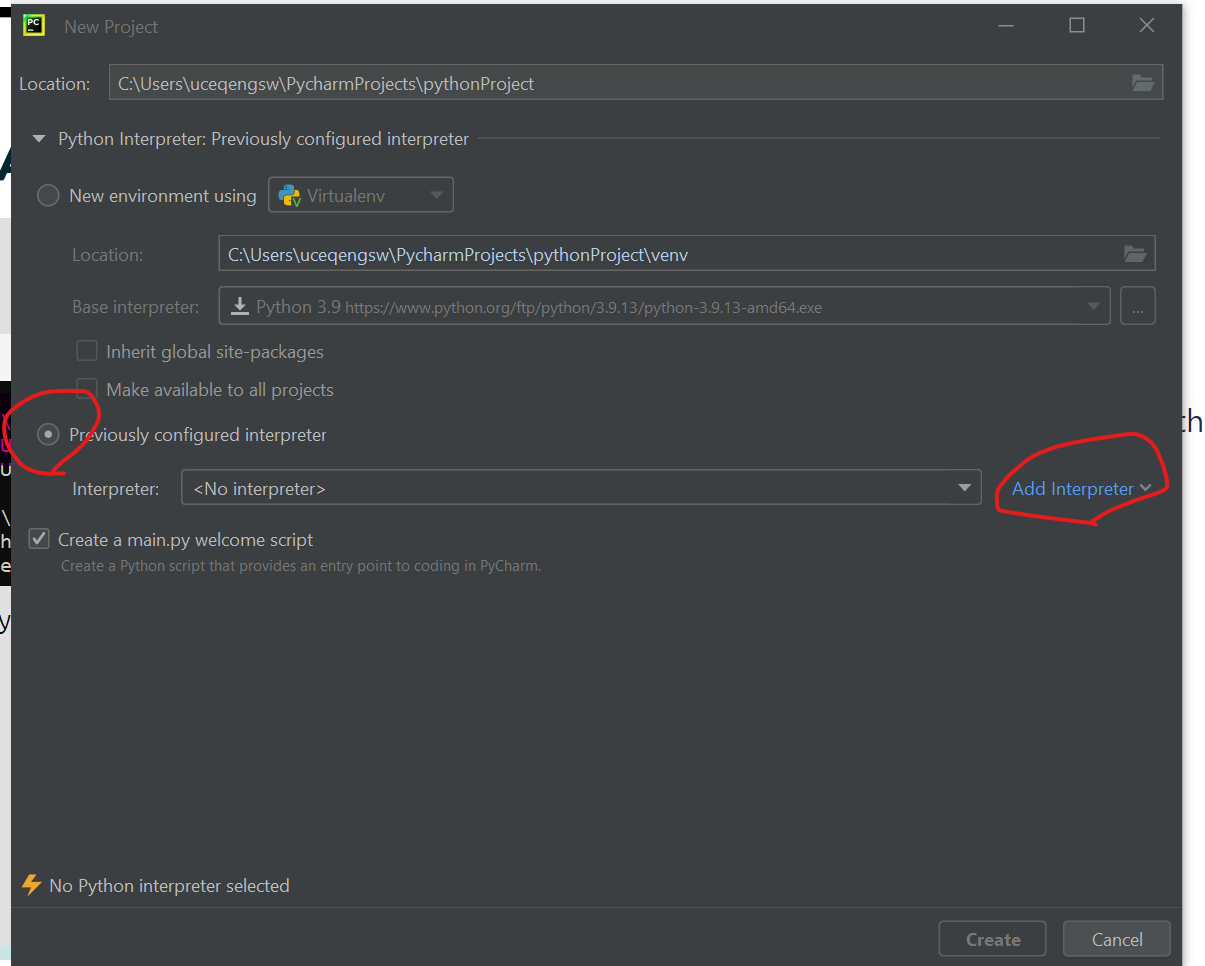
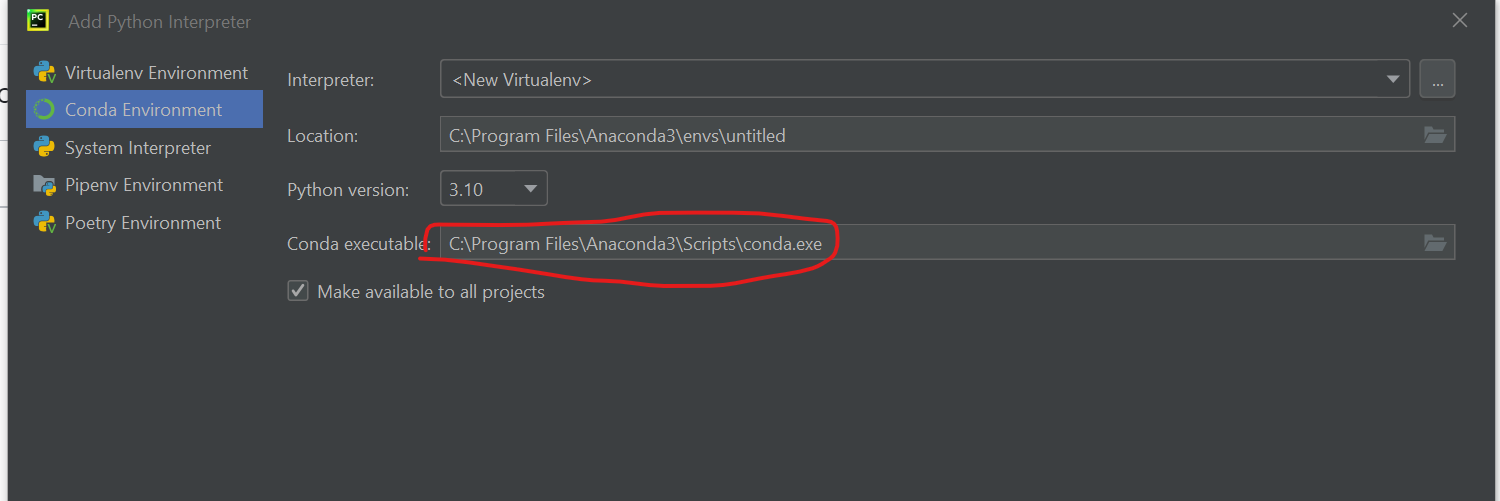
Go to Conda Environment.
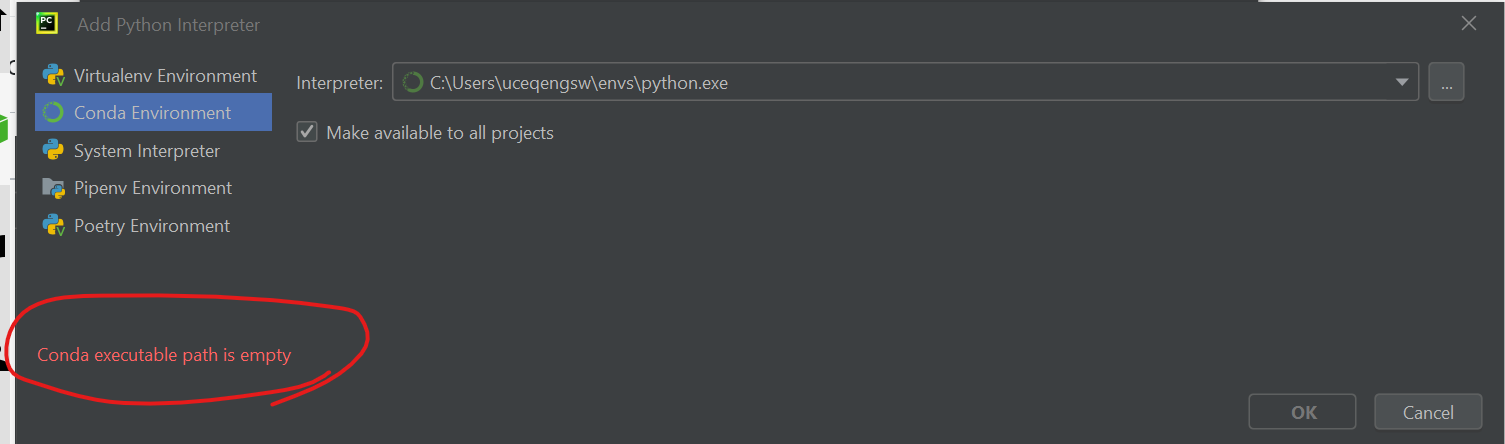
There is a bug in this dialog. You need to set Conda Executable first. conda.exe is at C:\Program Files\Anaconda3\Scripts\conda.exe
If you don't do this, you won't be able to proceed. See below.
Then click ... for Interpreter and select python.exe in your envs folder.
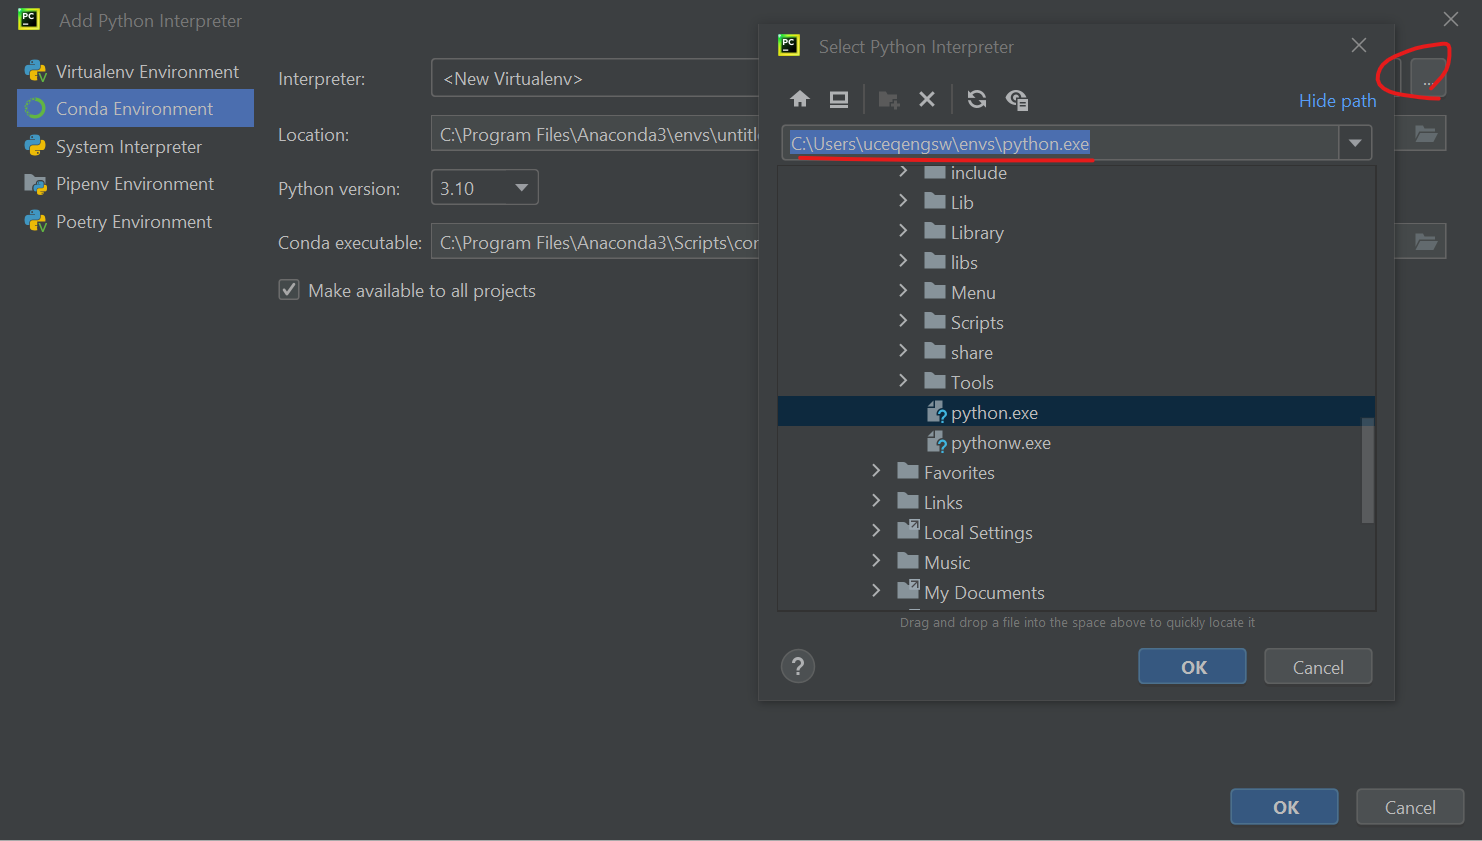
When it is all set, your dialog should look like below. Tick "Make available to all projects"
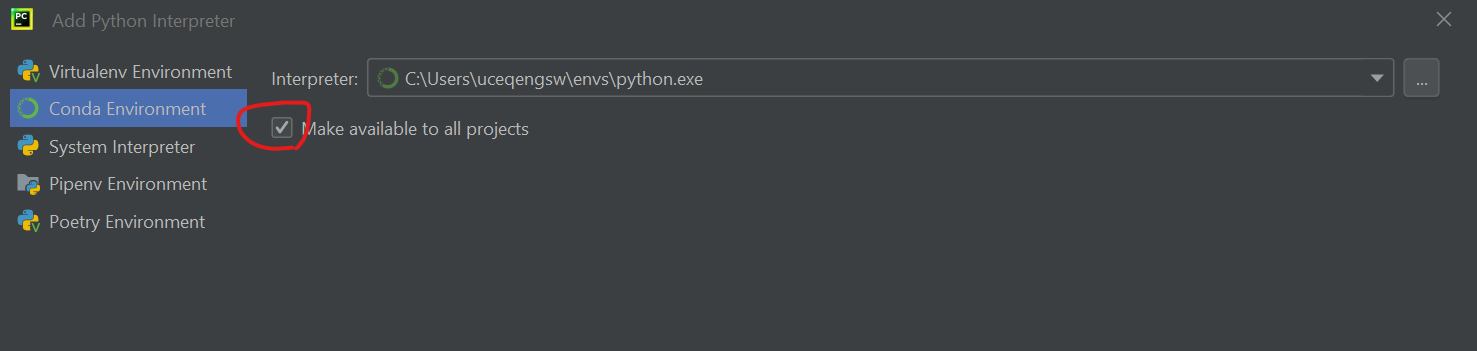
Click OK to finalize.
If you didn't set conda executable first, your dialog will show this error, and won't let you to move on. You can change Interpreter to New Virtenv, then you can get the conda executable field back.
Now you have everything ready for this project. Click "Create" to start your first PyCharm project.